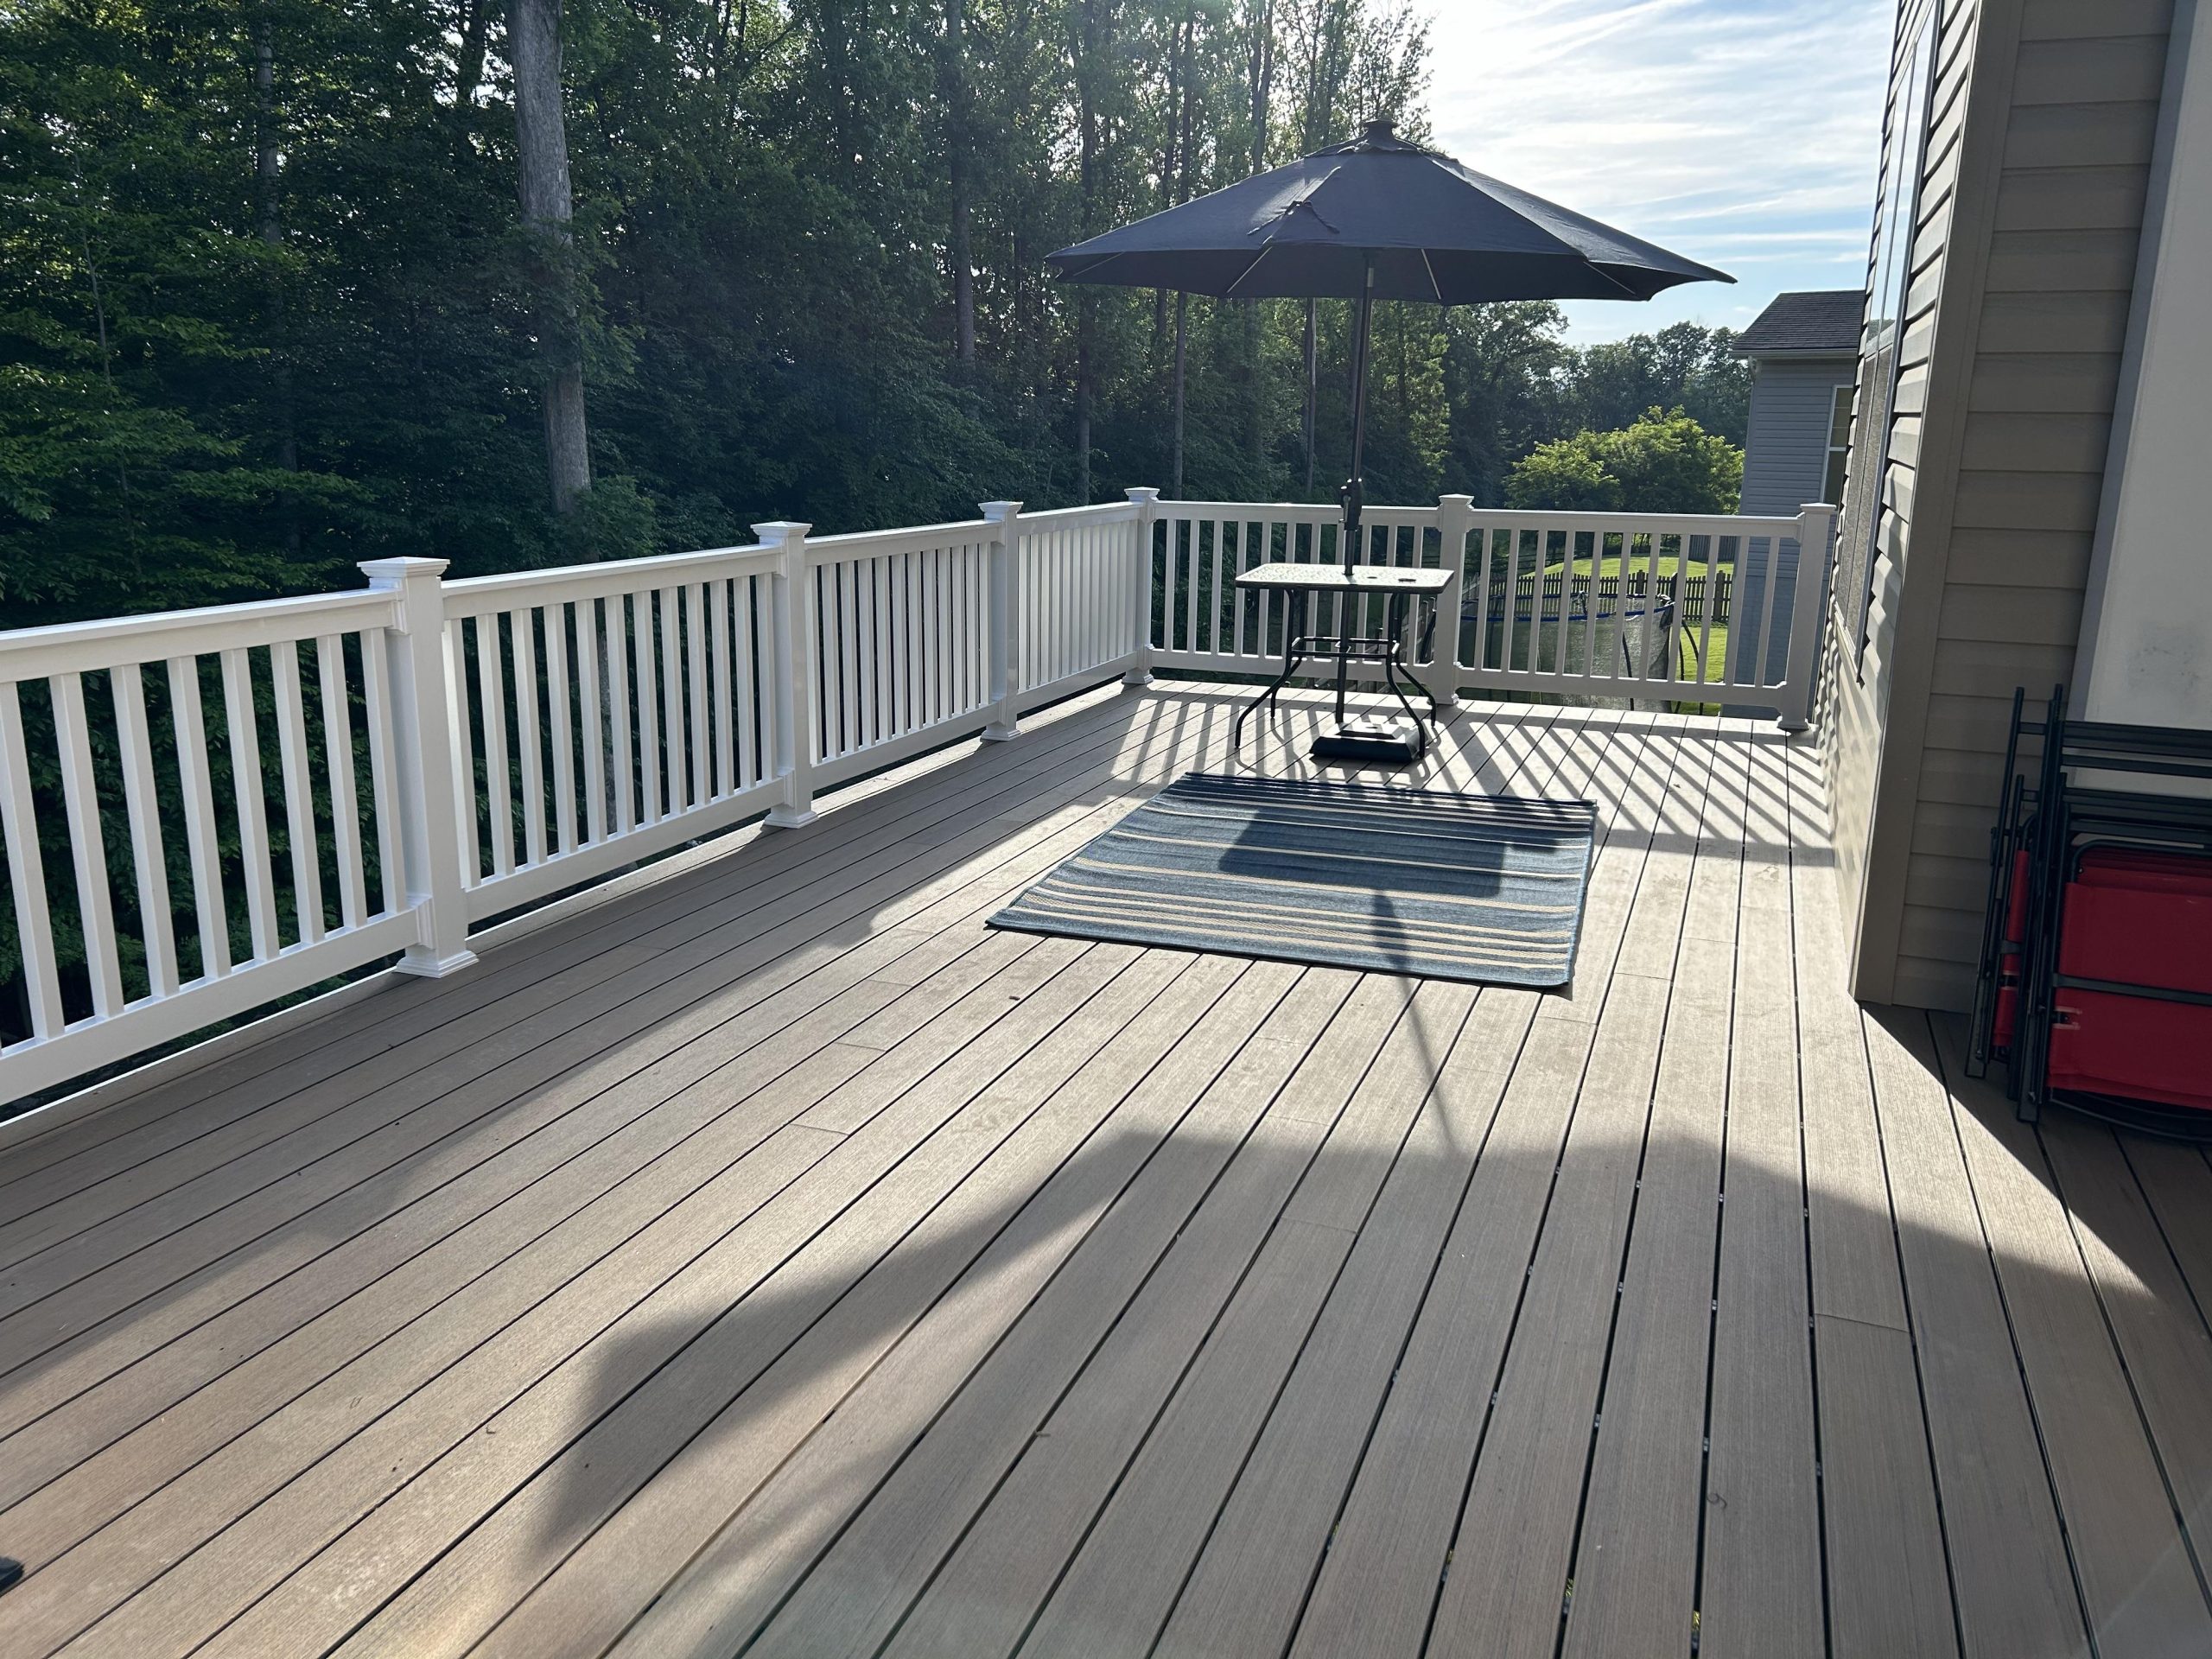
Deck Framing
The framework is one of the most important parts of creating a deck. In addition to providing the framework required to sustain the weight of your deck, proper deck framing guarantees the longevity and safety of your deck. We’ll go over the posts, beams, and joists that make up a deck’s framework in this guide, along with other important features like calculators, codes, and deck construction diagrams.

Deck Framing Parts
Your outdoor space’s deck structure supports everything from the flooring to the furnishings, acting as its structural framework. It is made up of various essential parts:
1. Posts:
supports that are vertical and help the deck fall to the earth.
2. Beams:
horizontal components that support the joists and link the posts.
3. Joists:
They support the decking boards and are installed perpendicular to the beams.


Deck Framing Costs and Materials
How to install Deck Framing
here a detailed guide for the deck framing installation
Step 1: Gather Materials and Tools
You will require a number of supplies, such as:
- Logs that have been pressure-treated (joists, beams, posts).
- Screws for deck framing.
- Mixture of concrete (for anchoring posts).
- A calculator for deck framing (to calculate material needs).
- A saw, drill, level, and measuring tape are examples of tools.
Step 2: Layout the Deck
Mark the deck’s perimeter on the ground to begin. Make sure the area is square and level by outlining it with rope and stakes. Next, use your deck framing designs to guide you in determining where to put your posts.
Step 3: Install the Posts
After finishing your arrangement, drill holes for the posts. The holes’ depth should adhere to local building requirements, which typically call for at least 36 inches in depth. After inserting the posts into the holes, cover them with concrete. Give the concrete time to cure completely—usually 24 to 48 hours.
Step 4: Add the Beams
The beams can now be inserted after the poles have been secured. To make sure the beams are level and at the right height, use a level. Deck framing screws should be used to fasten beams once they have been positioned atop the posts. This is a crucial step since the beams will bear the weight of the decking and joists.
Step 5: Install the Joists
The joists should then be installed perpendicular to the beams. The critical distance between joists is 16 inches on center; however, for precise values dependent on the materials and weight, refer to your deck framing span chart. Using deck framing screws, fasten the joists to the beams, making that they are level and equally spaced.
Step 6: Double-Check Your Work
Make sure everything is square and level before continuing by checking all measurements one more time. For your deck to last a long time and be safe, this step is essential.
Step 7: Finish the Frame
After the joists are firmly situated, you may start putting the decking planks in. To make sure your deck satisfies safety regulations, don’t forget to adhere to the deck framing code for correct fastening and spacing.
Importance of a Deck Framing Diagram
Having a well-defined plan in place is essential before you begin construction. A deck framing diagram is a crucial tool for imagining how your deck will be laid out. It should specify the sizes of each component as well as the locations of the posts, beams, and joists. Making sure your deck is safe and functional can be accomplished by using a well-organized deck framing diagram.
Deck Framing Plans and Ideas
There are a gazillion deck frame options to choose from when constructing your deck. Having clear deck frame plans will help you navigate the construction process, regardless of whether you’re building a multi-level deck or a basic platform. To make your room more functional, think about adding elements like built-in plants or benches.
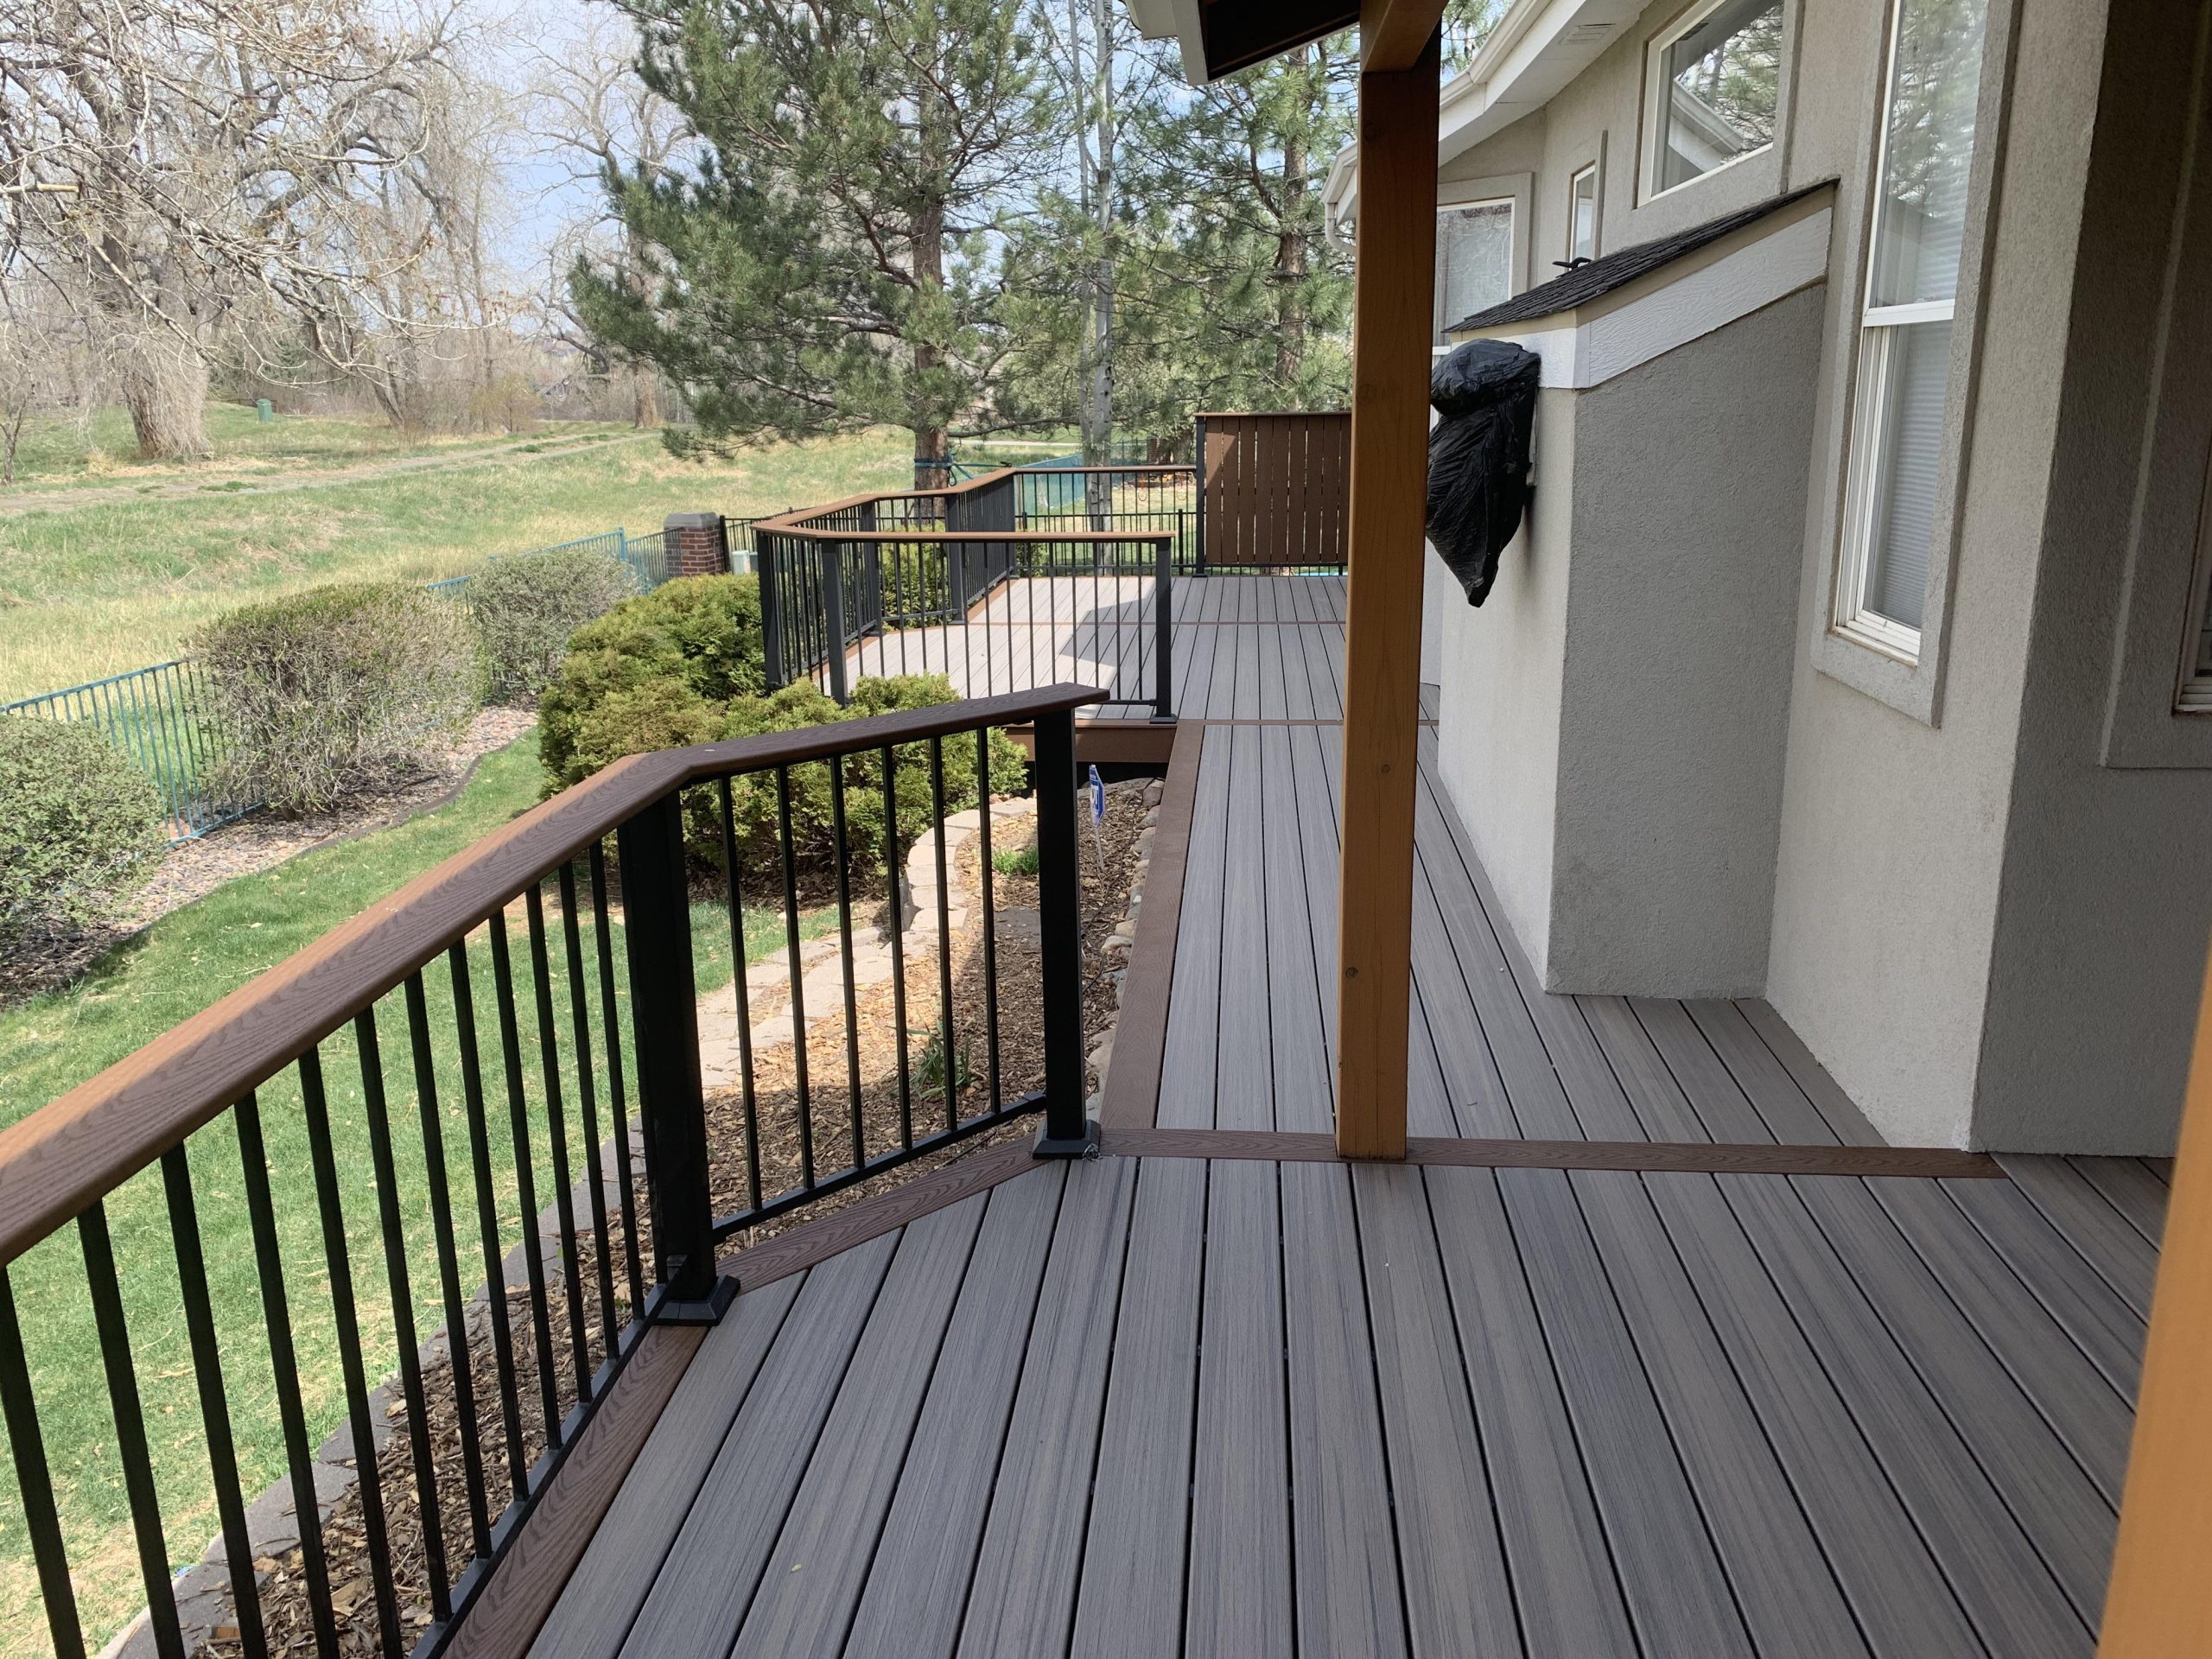
Picture Frame Decking
The “picture frame” design, in which the decking planks are framed with a border of broader boards, is one common trend in deck framing. This method fortifies the deck’s edges while also enhancing its aesthetic attractiveness. Make sure that the arrangement of your joists and beams permits this design in your framing.
Complying with Deck Framing Code
Last but not least, make sure the deck framing meets with local construction requirements at all times. These codes specify the dimensions of beams, posts, and joist spacing, among other construction-related details. Breaking these rules could put your family’s safety at risk and make it more difficult to sell your house later on.
Conclusion
When done carefully and with meticulous preparation, framing a deck can be a gratifying do-it-yourself endeavor. You may build a strong, attractive outdoor space by using calculators and diagrams, knowing the fundamentals of deck framing, and following building codes. It will be worth your while to frame your deck correctly for years to come, whether you choose a traditional style or something more modern. Have fun constructing!
FAQ

What is the best framing for a deck?
Pressure-treated lumber is a standard deck framing material. it helps to prevent rot and insects.
How to level a deck frame?
Place the framing square in one corner of deck frame.Use a 4′ level to check if the square is perfectly level or not.
What is the frame of a deck called?
its called Ledger board which support the joist a framing member.
Contact
+14322434141
info@yourcustomdecks.com
356 lowa Avenue City Fort Lauderdale
Your Custom Decks
We custom every deck design and build to match your home and maximize your outdoor fun.
